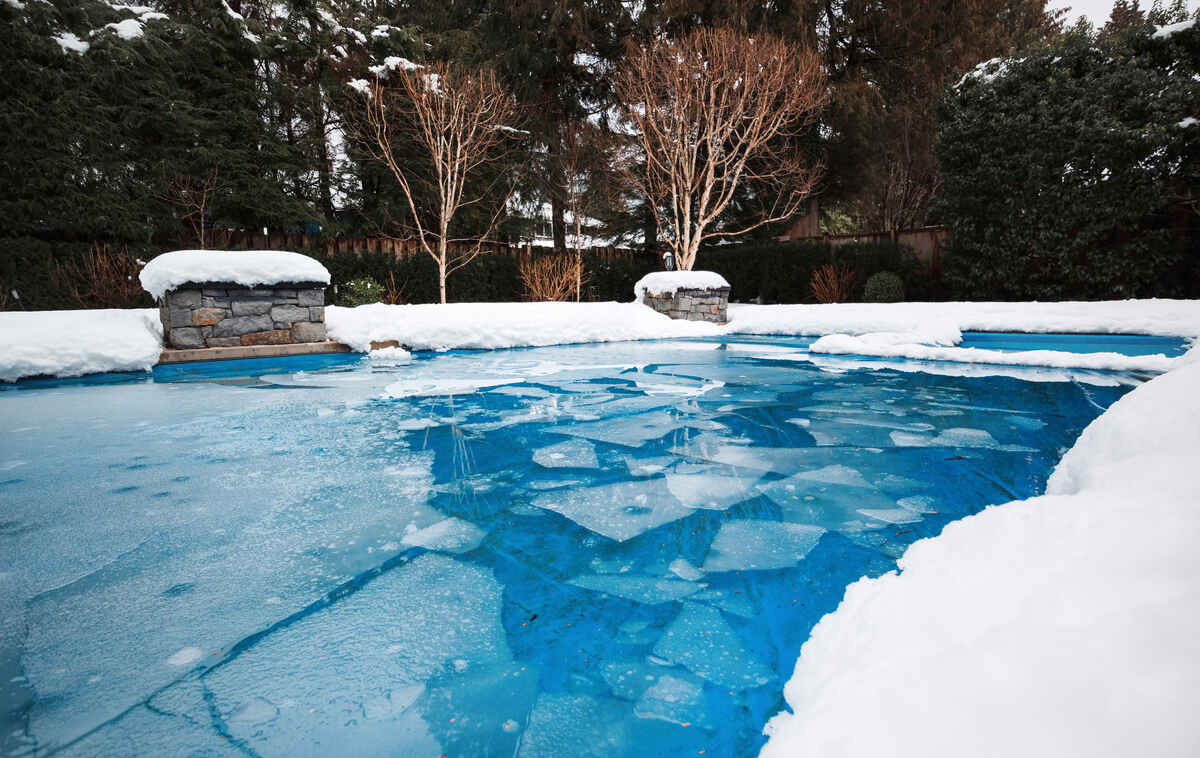
To properly winterize your in-ground pool, you must first deep clean the pool, test and balance the water chemistry, and add a winterizing chemical kit. After the water is treated, you will lower the water level, blow all the water out of the plumbing lines and equipment, and then securely install your winter cover.
| Project Difficulty: Easy to Moderate Estimated Time: 2 to 4 hours of active work, spread over 1 to 2 days Project Cost: $200–$400 |
Supplies Needed
Before you start, it’s best to have all your supplies ready:
- Leaf rake or skimmer
- Pool brush and vacuum
- Water test kit
- Winterizing chemical kit (algaecide, shock, stain preventer)
- Submersible pump
- Shop-vac or compressor
- Threaded winterizing plugs for return lines
- Skimmer guard or plug
- Air pillow (optional, for solid covers)
- Winter cover with cable and winch
- Non-toxic pool antifreeze (optional)
- Cover pump (for solid covers)
Step 1. Give Your Pool a Deep Clean

Before you close your pool, it needs to be as clean as possible because any debris left in the water will decay over the winter. This can stain your pool surfaces and create a difficult cleanup in the spring.
Start by skimming all leaves, bugs, and floating debris from the water’s surface, then brush the walls and floor of the pool. After you finish brushing, vacuum the entire pool thoroughly. Finally, remove and clean the ladders, diving boards, automatic cleaners, and other accessories and store them in your shed or garage.
Step 2. Balance the Water Chemistry
A well-balanced water chemistry protects your pool surfaces from staining and corrosion during the off-season. You should start this step about 3 to 7 days before you plan to cover the pool when the temperatures are consistently around 65 degrees F.
For more information on the right time to start, see our article on When to Close Your Pool.
Jeremy Yamaguchi, CEO at Cabana, says, “You definitely want to test the water chemistry before the winter. This is a super important winterizing step. The better you get your pool conditions before the winter, the less likely it will be to incur damage, and the healthier it will be next year when you open it up for use again.”
Use a test kit and adjust the chemicals to these winterizing ranges:
- pH Level: Between 7.4-7.6
- Total Alkalinity: 80 to 120 ppm
- Calcium Hardness: 200-400 ppm
- Chlorine Levels: 2-4 ppm
Step 3. Add Winterizing Chemicals

Now it’s time to add the chemicals that will keep your pool clear all winter. Keep your pool pump running to circulate the chemicals as you add them. Most winterizing kits include everything you need.
Here are the steps:
- Start with a stain and scale preventer.
- Next, add your winter algaecide to prevent algae growth.
- The last chemical is a non-chlorine pool shock.
According to Yamaguchi, “This will really help ensure the health of your pool throughout the winter.”
Broadcast it evenly across the pool surface according to the package directions. Let the pump run for at least one full cycle, which is usually 6 to 8 hours, to make sure that all the chemicals are fully circulated.
Some winterizing kits also include a slow-release floating sanitizer that you can add to your pool just before covering.
Step 4. Lower the Pool Water Level
Lowering the water is critical for protecting your plumbing from freeze damage, but you should never drain your pool completely. Use a submersible pump to get the water to the right level.
“One mistake homeowners will often make, specifically when it is their first year with an in-ground pool, is assuming that it needs to be fully drained to be winterized,” says Yamaguchi. “You don’t want to do this; otherwise, the pressure from the surrounding ground can cause the pool to crack. You can lower the water level slightly, but be strategic about it.”
You should lower the water to the correct level for your cover type. As Yamaguchi explains, “With in-ground pools, you want the water to be at least 6 to 12 inches below the skimmer. The general rule is 6 inches for solid covers and 12 inches for mesh covers. It’s important to be below the skimmer in order to protect the lines from damage.”
Step 5. Blow Out Lines and Drain Equipment
You need to remove all water from the plumbing and equipment to prevent it from freezing, expanding, and cracking the pipes. Here are the steps:
- Turn off power: Shut off all power to the pool equipment at the circuit breaker.
- Drain equipment: Open the drain plugs on your pump, filter, heater, and chlorinator, and let them drain completely. You can store the plugs in the pump basket so you don’t lose them.
- Disconnect the pump and filter housing: If it’s practical, disconnect and store them indoors for the winter.
- Remove or winterize filters: If you have a sand filter or DE filter, set the multiport valve to “winter/winterize” or between any two settings. For a cartridge filter, remove the cartridges, clean them, and store them indoors.
- Blow out lines: Use a shop-vac or an air compressor to force air through the skimmer lines until you see bubbles coming out of the return jets in the pool. If you have a bottom drain, you need to close its valve to direct the air to the returns.
- Plug the returns: Once a line is bubbling hard, have your helper insert a threaded winterizing plug into that return jet. Do this for all return lines.
- Clear skimmer line: Move the air hose to the pump and blow air back towards the skimmer. Once the line is clear of water, screw a skimmer plug into the skimmer to seal it.
- Add antifreeze (optional): For extra protection in very cold climates, you can pour non-toxic pool antifreeze into the lines through the skimmer before plugging it.
Step 6. Install the Pool Cover

If you’re using a solid cover, you should also place an air pillow in the center of the pool first. While it’s not required for the structural protection, an air pillow lifts the center of the cover, causing rain, leaves, and debris to collect at the edges, which makes them much easier to remove with a cover pump.
Inflate the pillow to about 60% capacity and use ropes to keep it centered.
Now it’s time to put on the winter cover:
- If you have a safety cover, just pop up the little brass anchors in your deck and clip the cover’s straps to them. Work your way around the pool, tightening the straps evenly to ensure the cover is taut.
- If you’re using a solid cover with water bags, just spread the cover over the pool. Fill up the water bags and lay them all around the edge to hold it in place.
Remember to use a cover pump to remove any accumulated water from the cover throughout the winter.
For more details and tricks to get it on tight, check out our guide on How to Install a Pool Cover on Your In-Ground Pool.
FAQs About Winterizing Your In-Ground Pool
No. After you add the winterizing algaecide and shock, the water is no longer balanced for swimming.
You should never leave an in-ground pool empty over the winter. The weight of the water inside helps push back against the soil around the pool. If you drain the pool water, the underground pressure can build up and cause cracks and gaps.
The winterizing process is almost identical for an in-ground saltwater pool. The only difference is that you also need to disconnect, clean, and store the salt cell.
The cost can vary based on your location and the size of your pool, but professional pool closing services typically range from $250 to $500+.
Yamaguchi says, “It can be a good idea to occasionally check the chemical balance during winter. You don’t really need to do this more than once a month or so.”
When to Call a Pro
A properly closed pool is your best guarantee for a quick and easy spring opening.
If blowing out lines and handling chemicals seems a bit too much, we can connect you with a qualified local pool pro who can handle the entire closing process for you.
Home Gnome delivers the best home service experience at the click of a button. Book reliable, skilled services in seconds and leave the rest to us.
Main Image: In-ground pool with pool cover and ice layer during winter. Photo Credit: Petra Richli / Adobe Stock
Related Posts: